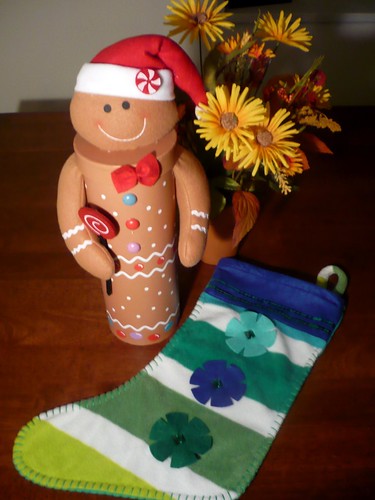
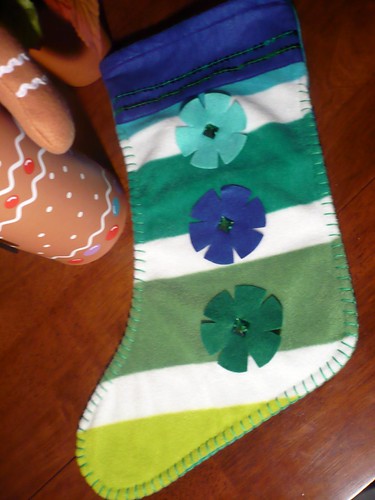
Last Friday I went Christmas shopping and found the cutest Christmas decorations for my apartment! I first bought this cute Christmas stocking that only cost me a dollar in Old Navy. Its now hanging on my door and looks very cute (especially for a dollar!):
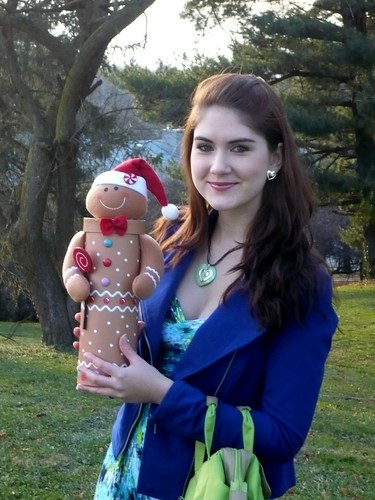
I also COULD NOT RESIST and I HAD to buy the cutest Gingerbread decoration EVER! Ok, sorry for all the caps, its just that I have a little secret obsession with gingerbread things. I mean they are adorable and made out of candy, whats not to like!??!?!
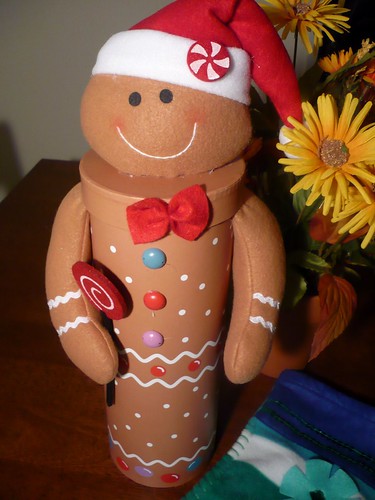
I was immediately in love with this ADORABLE gingerbread decoration, that I just had to have it! The only thing was, I didn't know what to put in it.
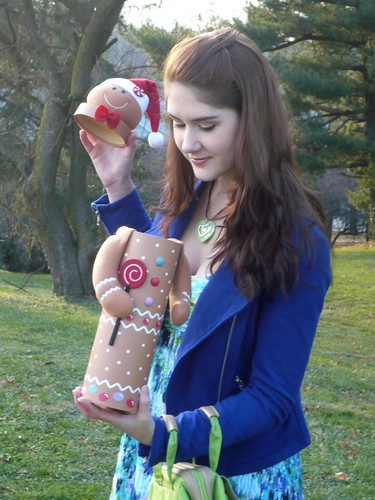
Instead of just leaving it empty, I decided I liked it so much that I wanted it to be something special. Me being the crafty person I am, I always end up transforming everything into a craft project! jaja.
So I have named it "Marie's box of happiness". What I'm going to do is fill it up with colored paper stars that have happy thoughts written on them. So I would write all sorts of things such as happy memories, funny moments, etc., simply things that make me smile. That way the box becomes something so much more special than just a plain Christmas decoration.
So I have written a mini guide on how to make little paper stars in case any of u were interested. Its just 10 easy steps (sounds like a lot of steps but its pretty quick).
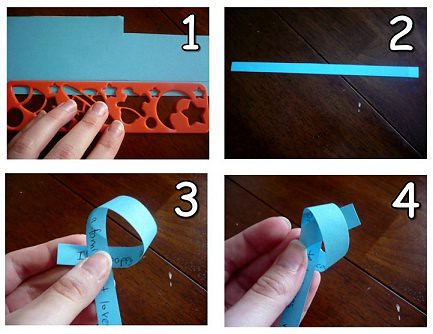
1. Use a ruler to trace a straight line on a piece of colored paper in order to make a strip of paper... the thickness depends on how big u want your star.
2. Cut with scissors along the line and you should end up with something like this picture.
3. Then get one end and put it around the bottom as shown in the picture.
4. Then bring it through the loop in order to make a knot.
2. Cut with scissors along the line and you should end up with something like this picture.
3. Then get one end and put it around the bottom as shown in the picture.
4. Then bring it through the loop in order to make a knot.
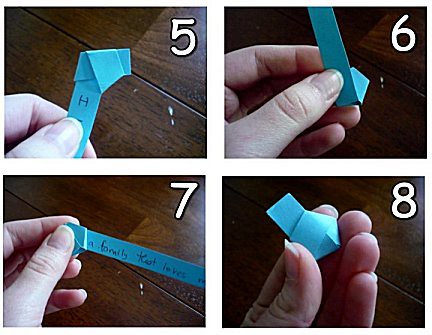
5. Then tighten the knot towards the top until it looks like this picture.
6. Then get the long strip from the bottom and fold it on top of the pentagon.
7. When you fold it over that edge, the strip should automatically show in what direction you should fold it next... keep folding it around the different edges. Make sure you don't fold it too tight, you want it semi-loose.
8. At the end put the final piece bellow a strip in order to keep it in place (you could also use glue if you would like), and then cut the extra strip.
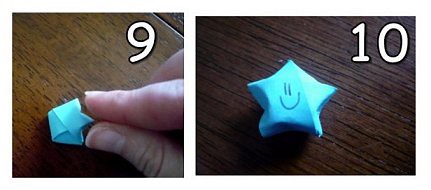
9. This is the tricky part: You need to fold the corners of the pentagon so that the center of the pentagon pops out. It should have a little tip like this picture.
10. Pop out each corner and you are left with a little 3-d star! Since my box is a box of happiness, I drew happy faces on all of mine :)
That was easy enough right? jajaja, well with practice you get really good at it. I decided to make it in all sorts of different colors.
10. Pop out each corner and you are left with a little 3-d star! Since my box is a box of happiness, I drew happy faces on all of mine :)
That was easy enough right? jajaja, well with practice you get really good at it. I decided to make it in all sorts of different colors.
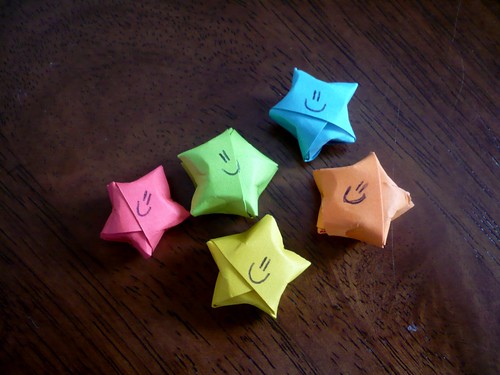
As you can see, I still have a whole lot of happy stars to make:
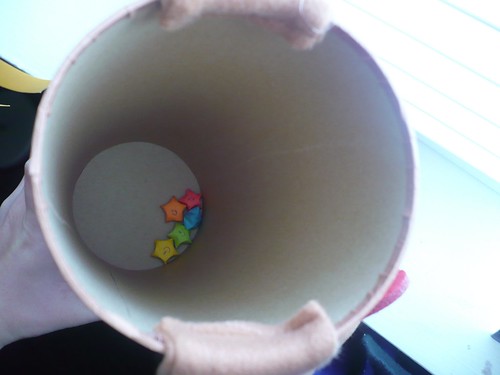
Lets see how many happy memories I can collect by next Christmas. I'm sure it wont be hard to collect happy moments since life is truly full of them if you are just willing to see the happiness in the small things.
No comments:
Post a Comment