Ok, I'm FINALLY posting the DIY for the floral brooches I promised a couple of weeks ago (Sorry for the delay guys!) This easy tutorial is to transform your everyday plastic flowers into fabulous versatile fashion accessories! Floral brooches/hair pins are such an easy way to give pizazz to any outfit; so don't hesitate in giving this easy craft a try!Craft: Floral brooches and hair pins
Source: Invented by myself!
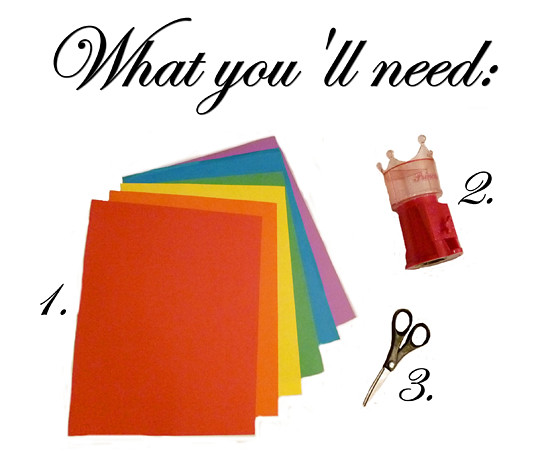
For this craft, all you will need is:
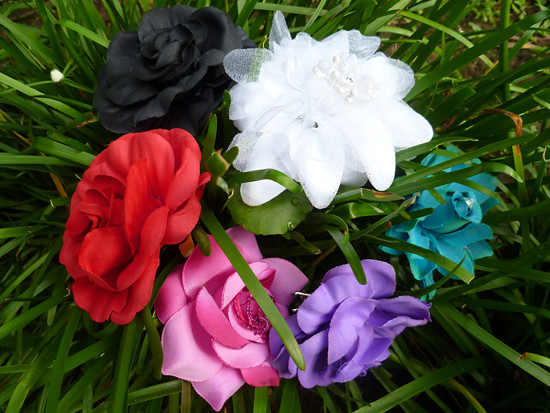
- Plastic flowers (You can get this at any craft store)
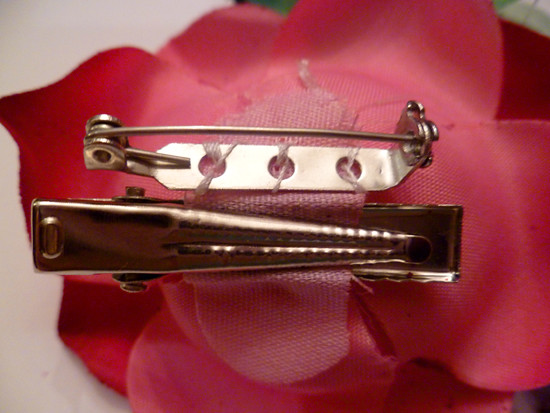
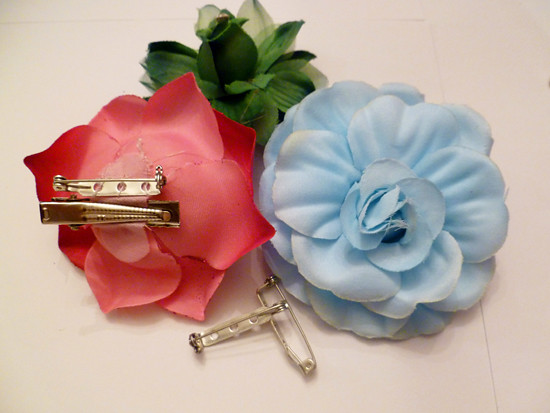
- Brooch clips and/or Hair Clippies (You can find this at any craft store)
- Scissors
- Needle and thread (Or a glue gun would probably work as well)
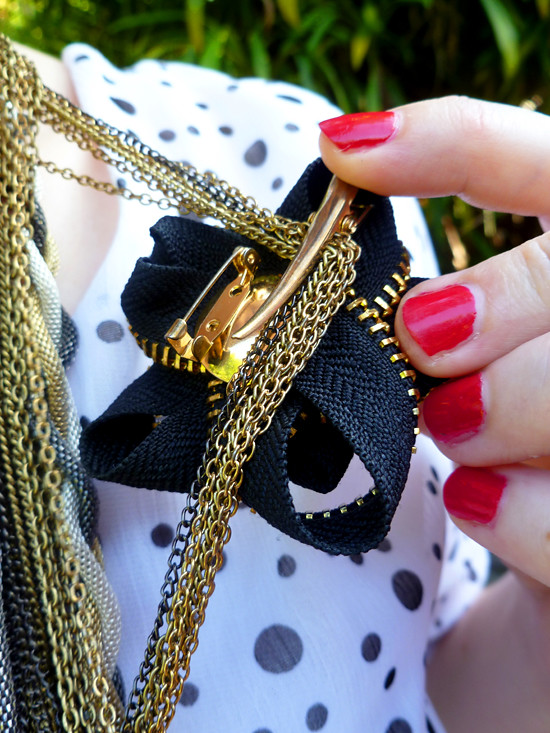
Here are the steps to completing this craft:1. Sew Brooch clips to flower: I'm no sewing expert, but sewing these brooch clips to plastic flowers was easy peasy. Just sew through the circles and the back of the flower to make sure the clip is secure. 2. Optional - Glue Hair clip to flower: A second option is to use a glue gun to attach a Hair clip to the back of the flower. Done!
Yup, this was a 2 step tutorial!
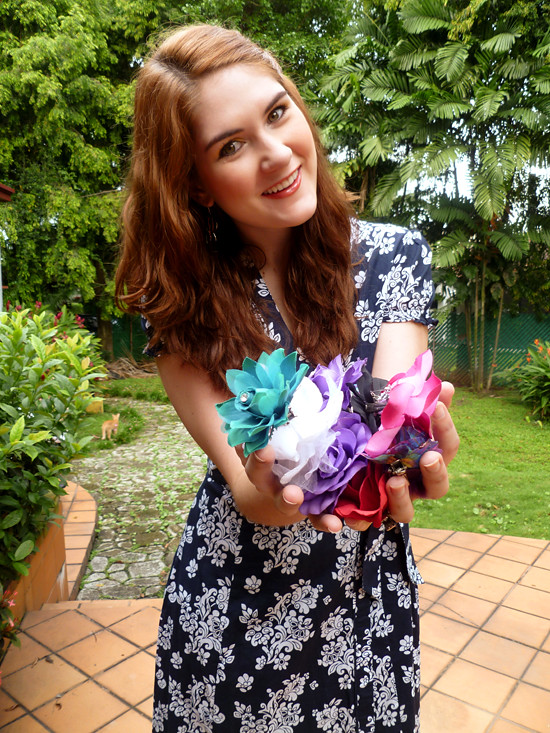
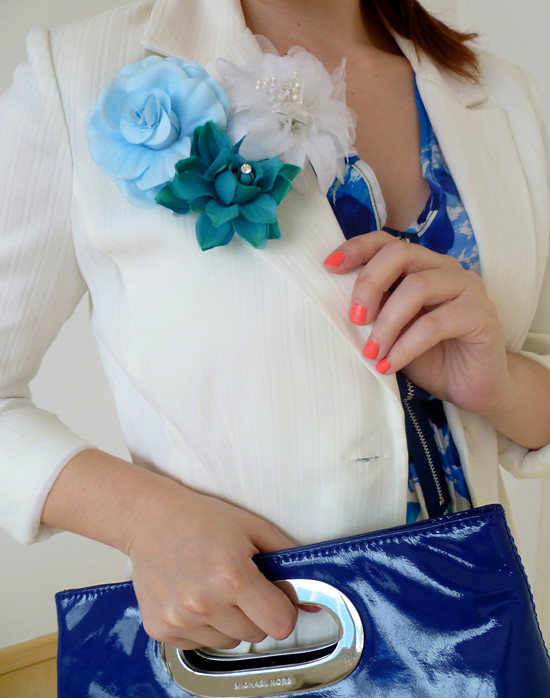
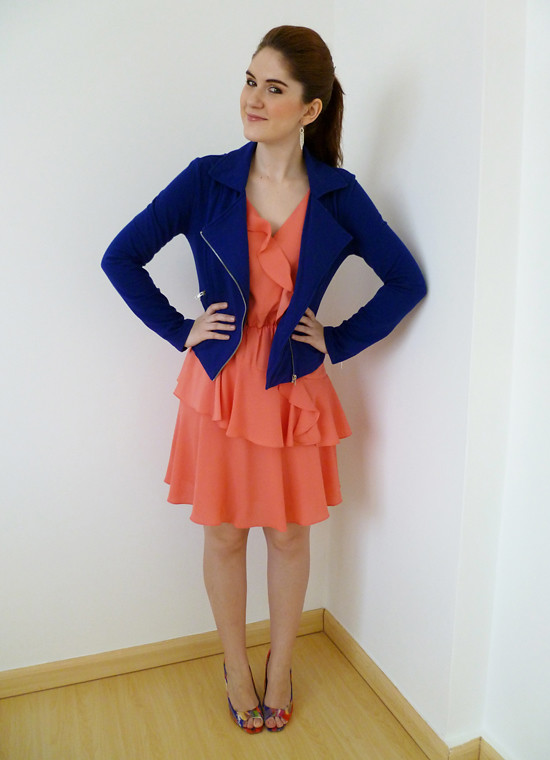
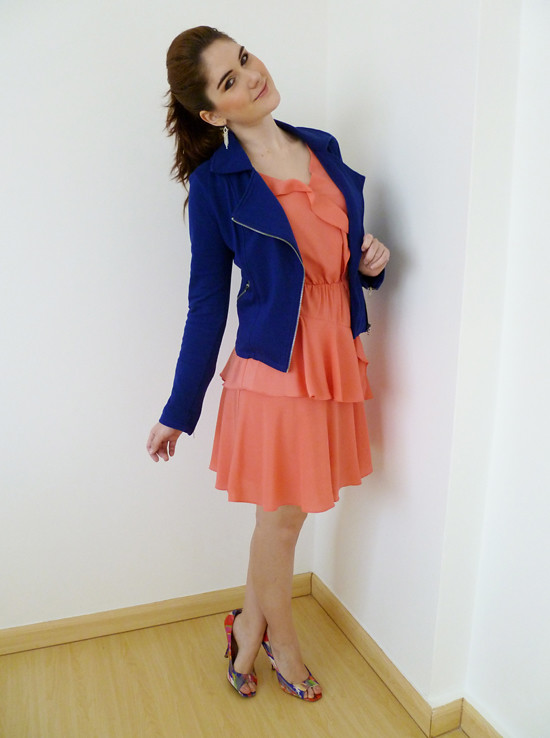
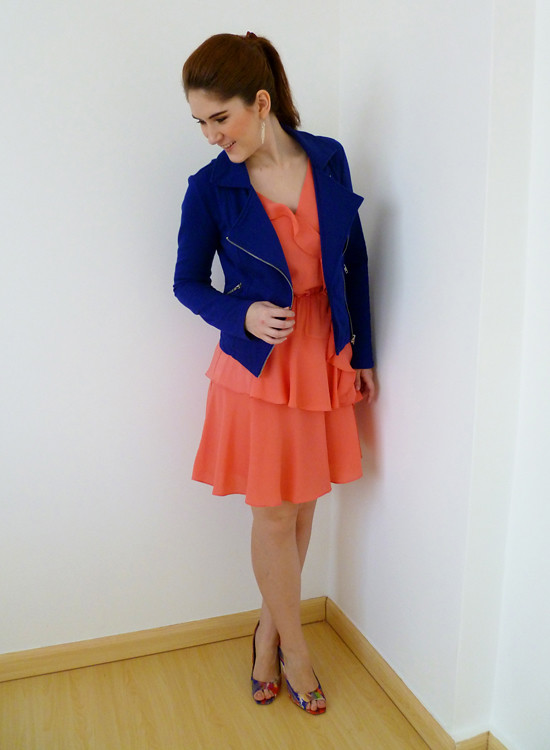
I personally attach both hair clips and brooch clips to my flowers so that they can serve a double purpose! Here are a couple of the many ways in which you can use these great accessories: 1. Clutter several brooches together to add pizazz to your plain blazer!
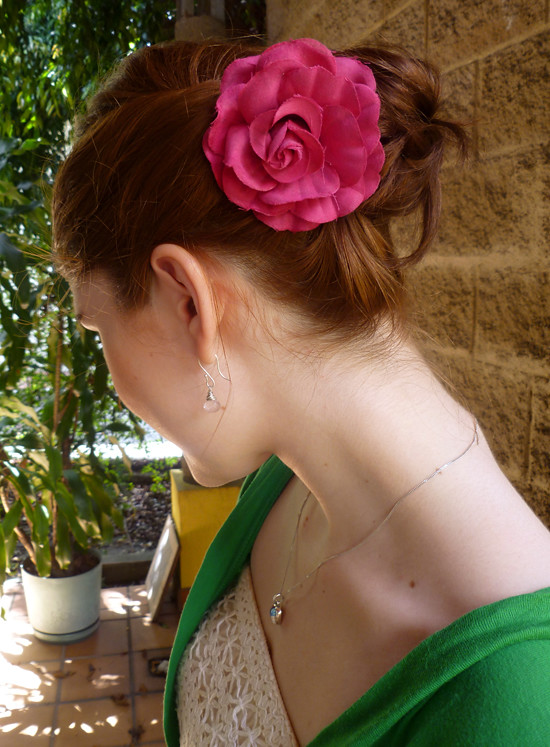
2. Clip them in your hair to achieve a romantic feminine look.
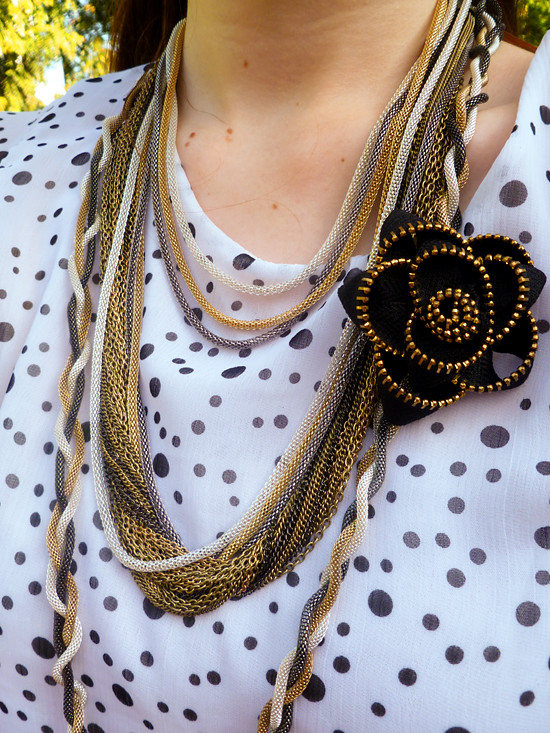
3. Clip them to necklaces to make a unique looking accessory
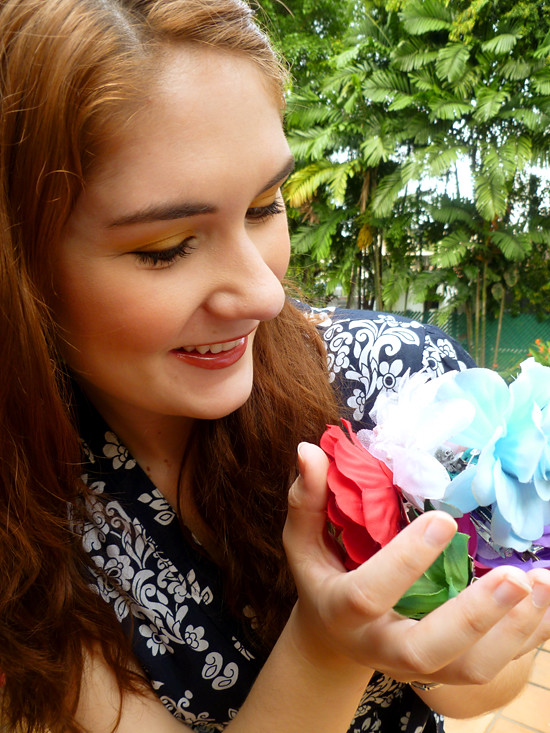
So there you have it folks! A quick and easy craft that will definitely add some color and life to your wardrobe. The best part? You can make many flowers in all the different colors... the possibilities are endless!