
As I told you all yesterday, I attended a Candyland inspired birthday party this weekend! So, going along with the theme, I made this gumball machine birthday card for the birthday girl. Basically, she would turn the switch, and each "gumball" is a paper congratulating her for her birthday, thanking her for her friendship, or some other cute birthday message.
This is a craft that any of you can pull off! It would be cute to fill the gumball machine with "Reasons why I love you" for your boyfriend/girlfriend; or "Thank you's" for your parents or friends.
This is a craft that any of you can pull off! It would be cute to fill the gumball machine with "Reasons why I love you" for your boyfriend/girlfriend; or "Thank you's" for your parents or friends.
Craft: Gumball Machine birthday card
Source: Invented by myself!
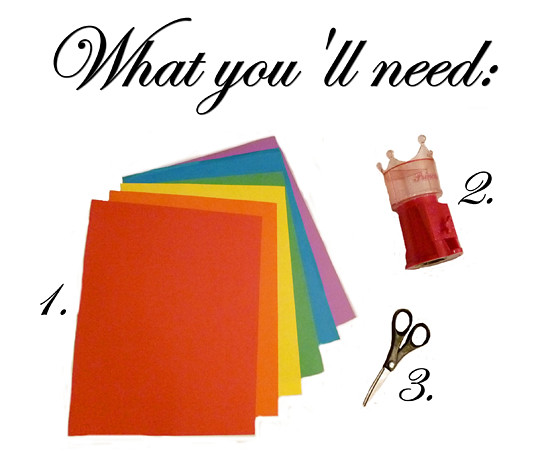
For this craft, all you will need is:
- Bright colored paper.
- A toy gumball machine (You can find this in most party or toy stores. I got mine for $3.00 at GDP in Panama)
- Scissors
Here are the steps to completing this craft:
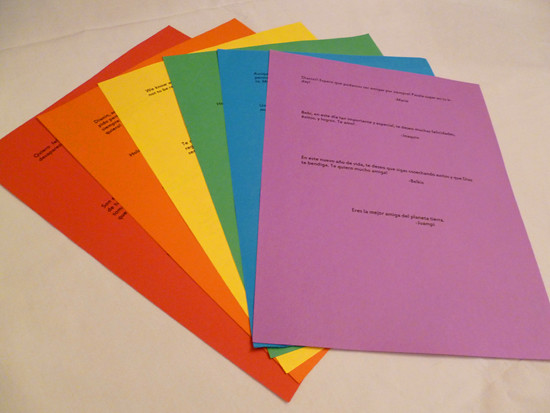
1. Print messages: The first step is to write on a Microsoft Word document several cute messages for whoever you are making this craft for. Make sure to leave a fair amount of space between each message. Then print the messages out on several bright colored papers.
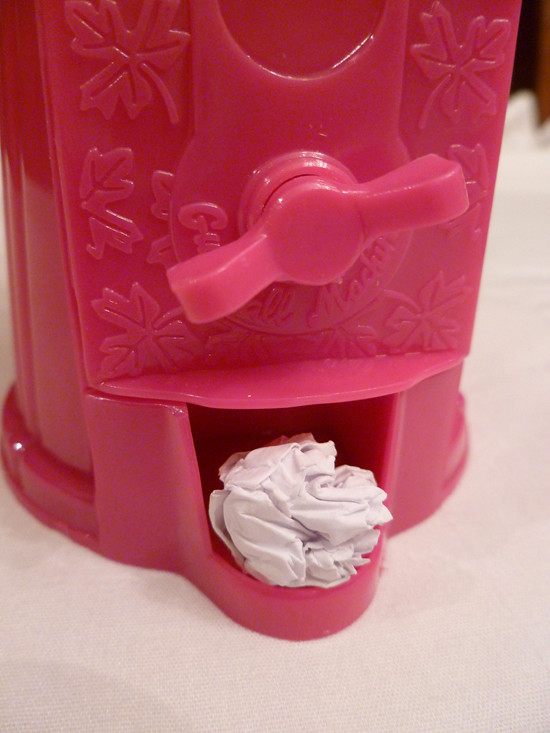
2. Test the gumball machine: Before you start cutting up your messages, make sure you "test" the gumball machine. Cut a rectangle of white paper (to not waste the colored paper), scrunch into a ball, and then pass it through the gumball machine. Check to see if it gets stuck or not. If it goes through perfectly, than un-crunch this white piece of paper, and use it as a guide on how big each piece of paper with a message should be.
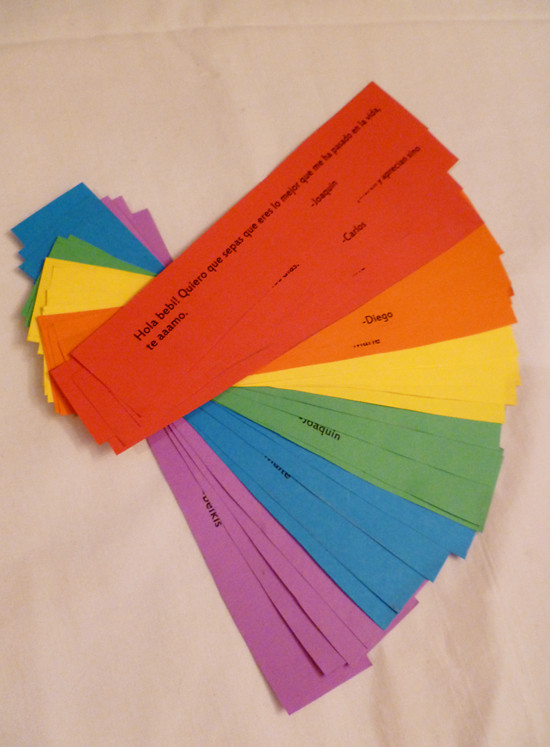
3. Fill up the gumball machine: Using the white paper from the previous step as a guide, cut out all of the sweet messages. Crunch them all up into little balls and fill up your gumball machine.
Voila, all done!
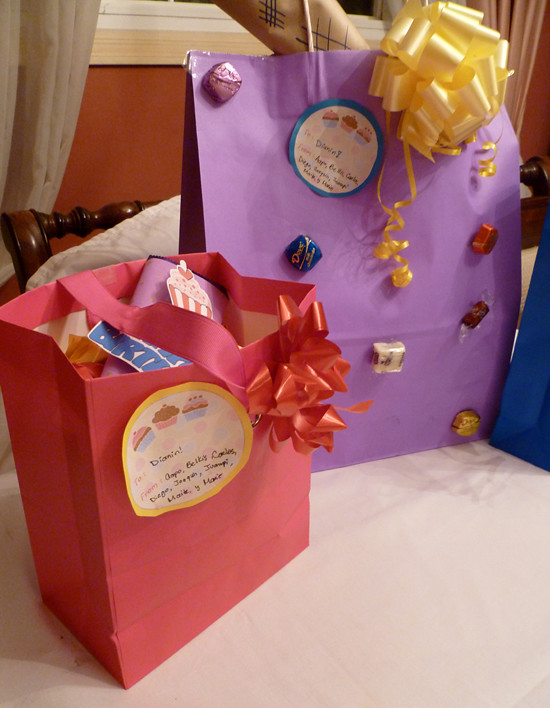
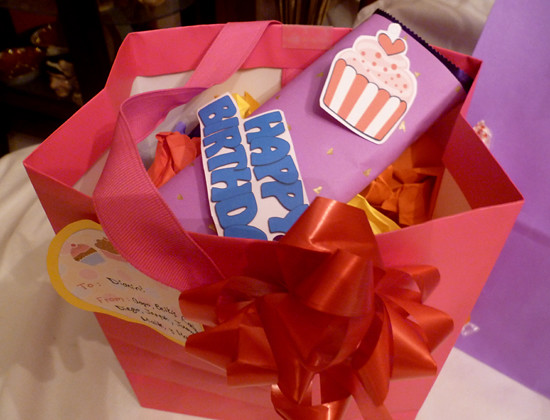
If you want to continue with the Candyland theme, you can wrap your presents like I did! I put each of her presents in a bright colored gift bag. I decorated the outside of one of the bags with small candies taped all over the bag.
Hope you all enjoyed this Candyland inspired DIY!
No comments:
Post a Comment